Scrap parts and trace history
Scrap parts on the build screen with optional replacements, and trace a part's full movement history through production.
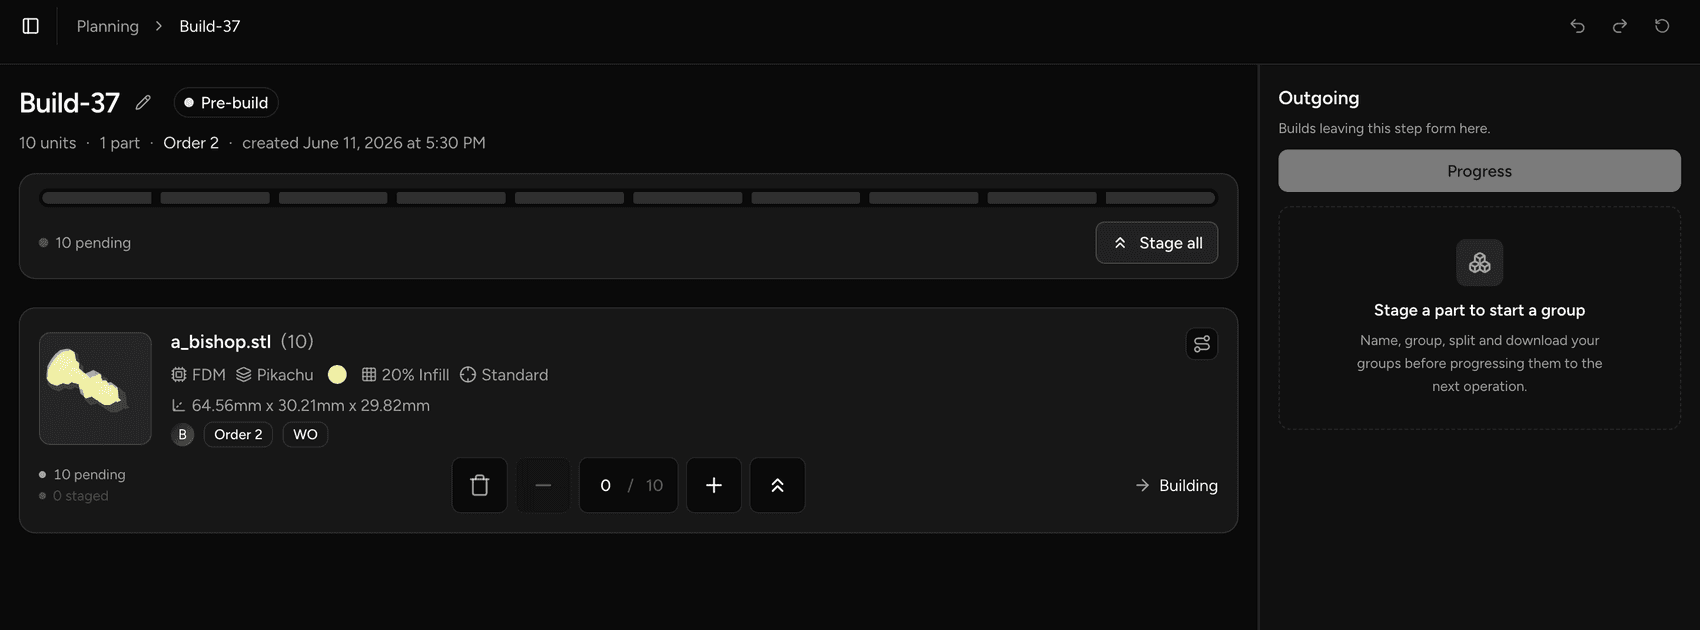
On the build screen, you can scrap individual units at any stage and view a complete trace of every move a part has made through your shop.
Scrap parts
To scrap one or more units from the current step:
- On the build screen, locate the part you want to scrap.
- Select the scrap action for that part.
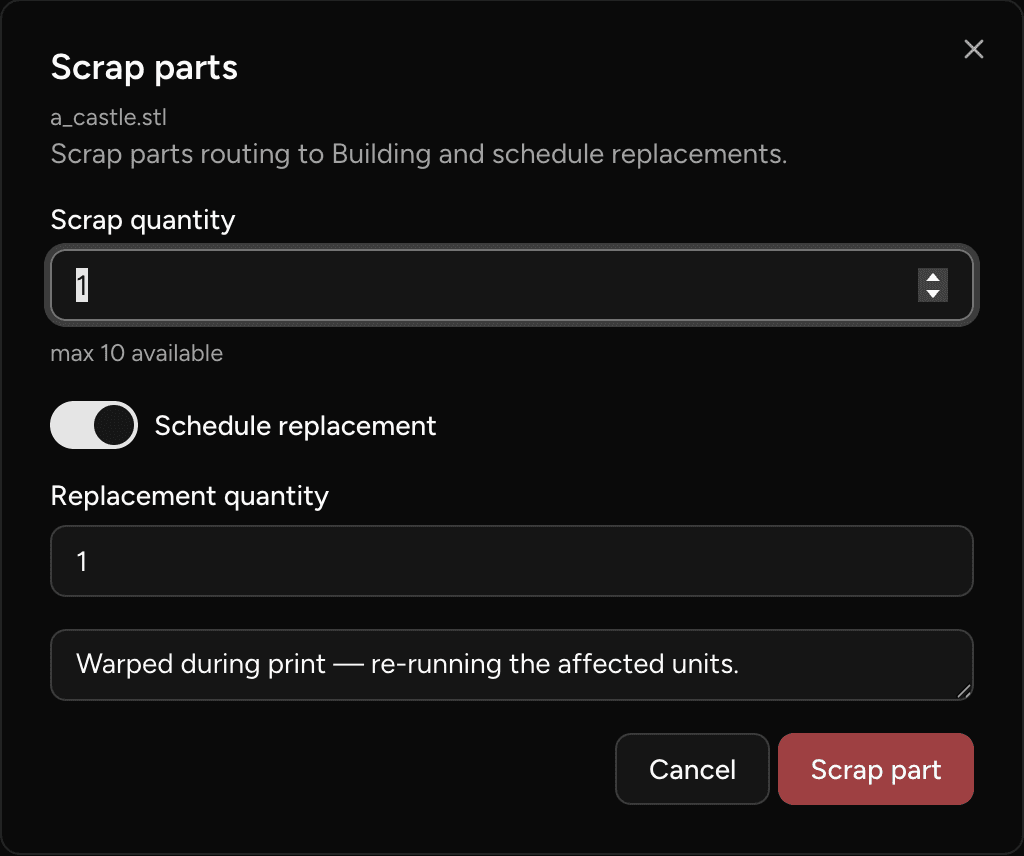
- Enter a scrap reason.
- If you want replacements produced, enable the replacement option and enter the quantity to replace.
- Hit Progress to commit.
⚠️ Scrapping is permanent — there is no server-side undo once you progress. The scrap action is fully reversible in the staging area before you hit Progress.
When you include a replacement, the system tops up the existing production run at its first operation — the replacement units join the same work order and follow the same routing from the beginning.
ℹ️ There is no data lineage connecting a scrap record to its replacement units — the replacement is a quantity addition to the existing run.
Read the production trace
After progressing a build, the trace for each part is visible on the build screen in place. The trace shows every operation the part has moved through — which build it was in, where it came from, and when it moved.
To view the full trace for a part:
- On the build screen, locate the part.
- Open the trace view for that part.
Every move is a permanent record. A part's trace covers its entire history from the first operation to its current position.
💡 If a part was split — for example, two units staged together and one unit staged separately — each chunk appears as its own entry in the trace, each referencing its source step and work order.
Last updated on