Storefront
Set up your branded Phasio Storefront, where customers upload models, get instant quotes and place orders, and choose how customers sign in.
Available to manufacturers on Startup, Pro and Factory Floor plans
The Phasio Storefront is the customer-facing portal where your customers upload their models and get quotes based on the manufacturing processes, post-processing options and other services you offer. Customers get automated quotes from their uploaded files and place orders through a streamlined checkout, paying with your preferred payment methods. It reduces your administrative workload while giving customers a professional, branded ordering experience.
The Storefront also contains your AI Assistant, through which customers can create requests when they don't have a model file ready to upload.
You can use the Storefront in three ways:
- Phasio-hosted: Phasio hosts the Storefront with your branding, at your Storefront link. Configure it on this page.
- Embedded: put the Storefront inside a page of your own website or an affiliate's website. See Embed your Storefront.
- Custom storefront: a developer builds your own screens on the Phasio Auth API and Customer API. See Custom Storefronts.
Customer pages on the Phasio Storefront are hidden from search engines, so they don't show up in search results.
Storefront settings
The Settings > Workspace > General page has up to six sections: General Settings, Upload Settings, Customer Access, Notifications, Production (Factory Floor plan only) and Features. This page covers all of them except Notifications, which is covered in Notifications.
General Settings
-
Navigate to Settings > Workspace > General. The General Settings section is at the top.
-
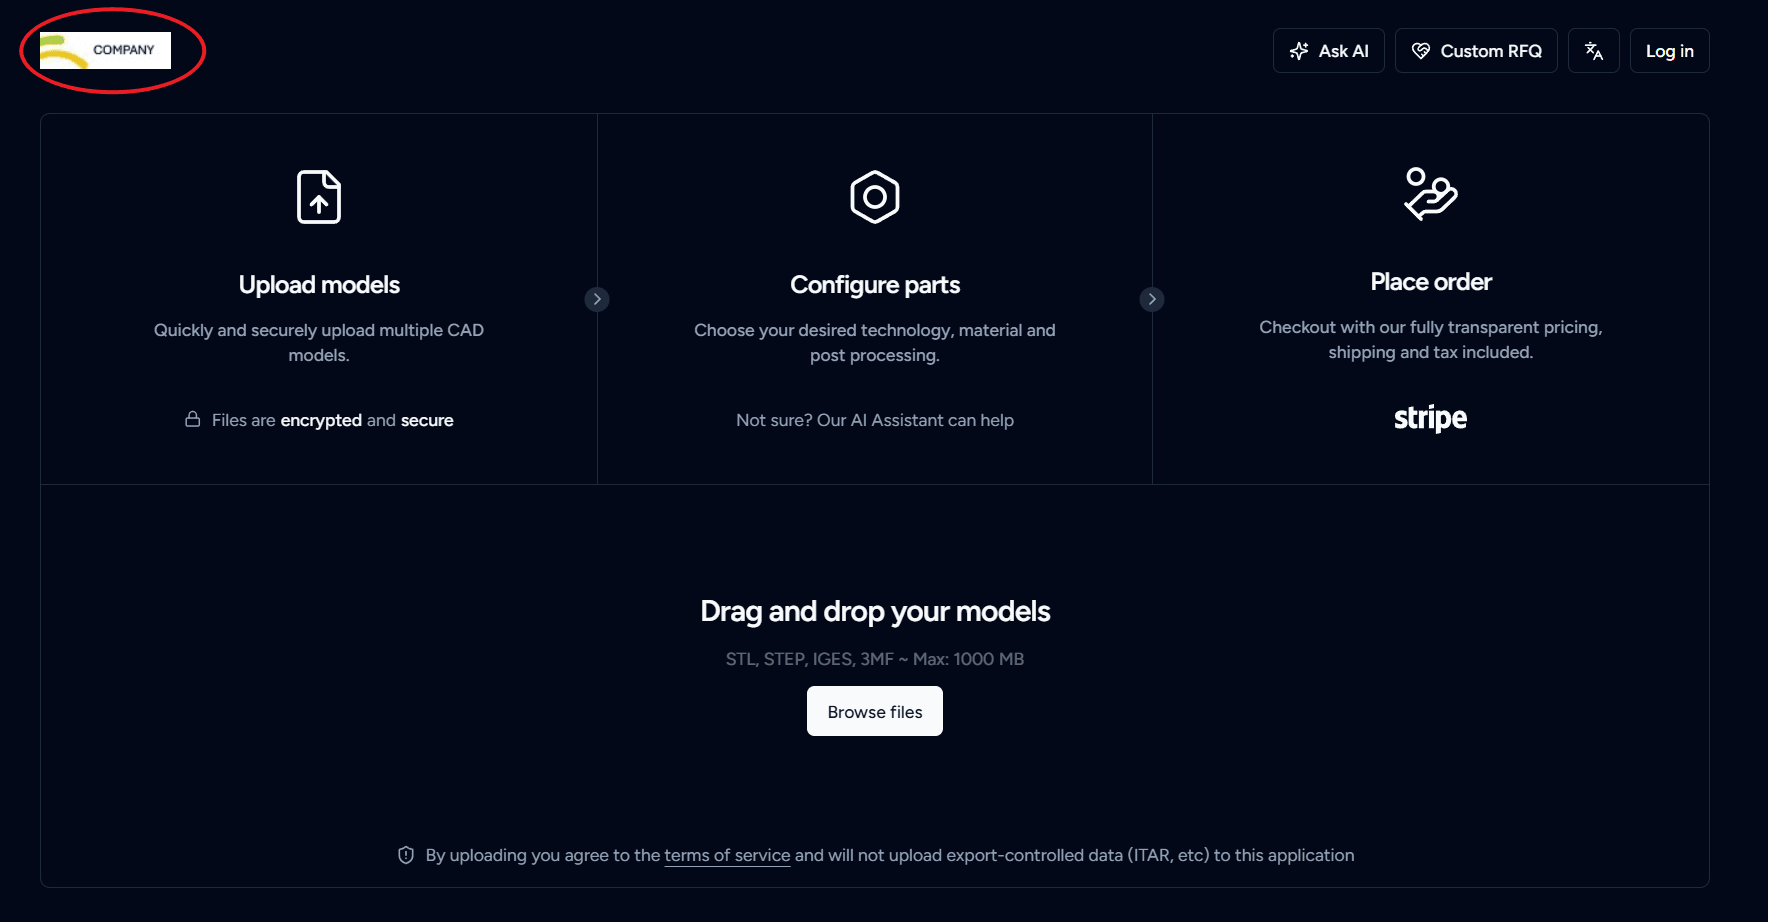
Branding: Upload your company logo to establish a consistent visual identity throughout the customer experience. For optimal display across all device types, use a logo with dimensions of 105 × 30 pixels.
This logo will appear on your Storefront as shown:
-
Email: Shows your Storefront's email address,
<store name>@fabricate.network. Click the copy icon to copy it. -
Country: Select the country where your business operates to ensure correct regional settings are applied.
-
Time zone: Select your business's time zone, or click Use my browser's time zone. Phasio uses it for work order, discount and material price dates. Until you set it, each user's browser time zone is used.
-
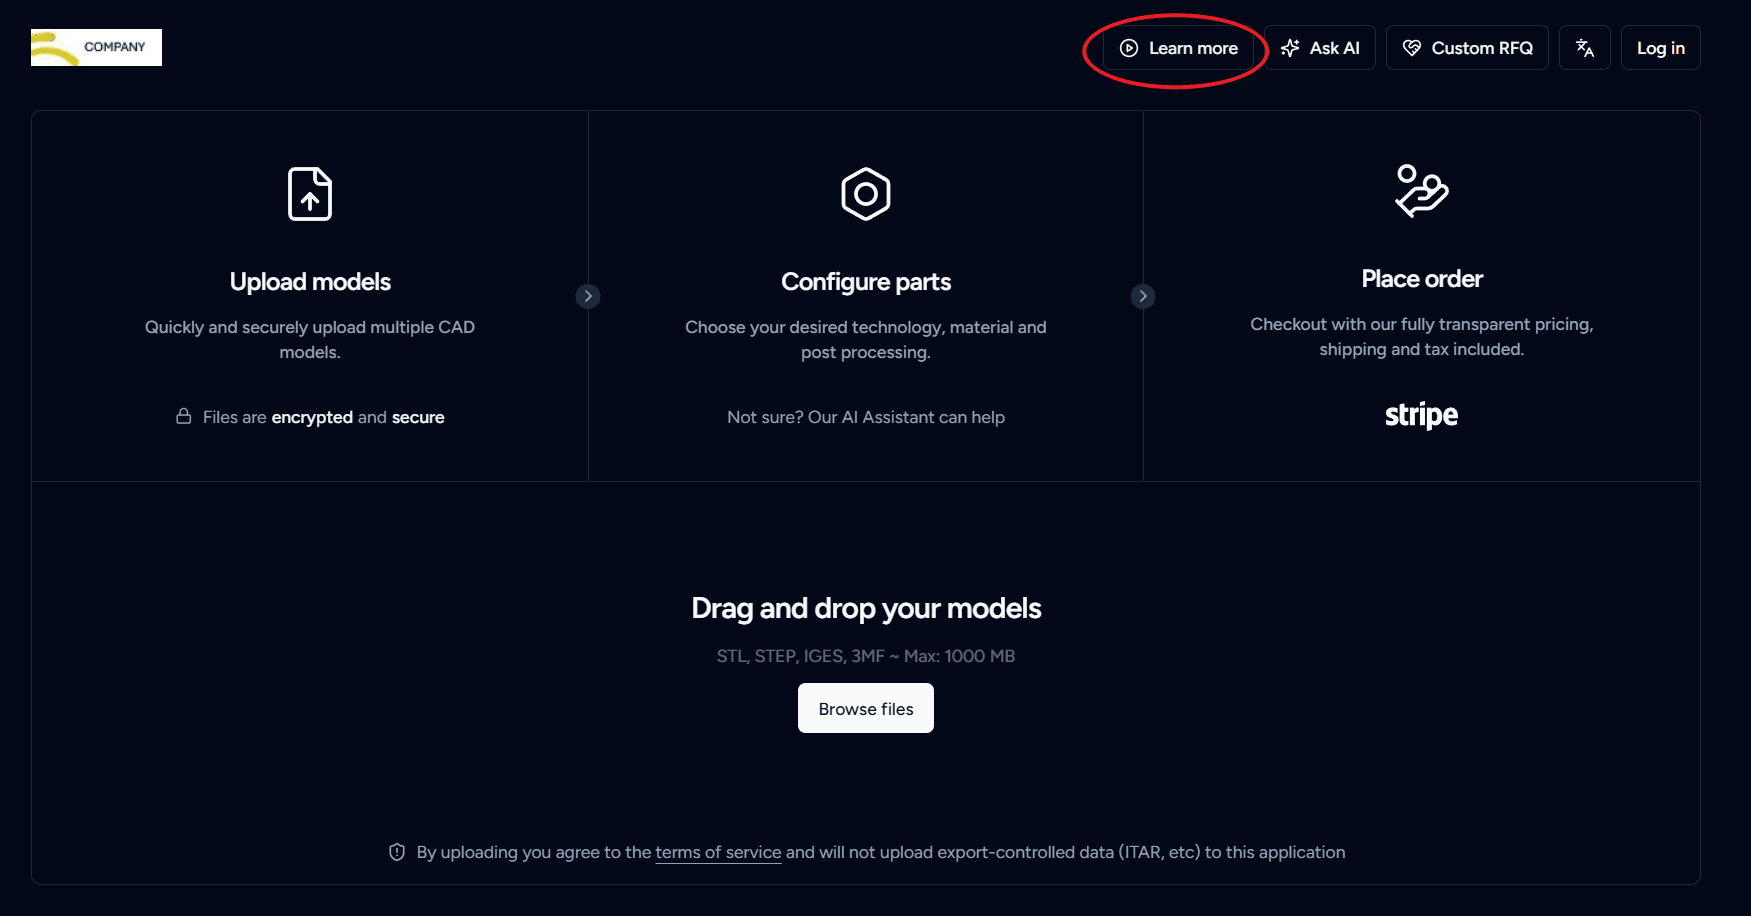
Video Link: Provide an optional promotional video link to display on your Storefront. Use this to showcase your manufacturing capabilities, facility tour, or product demonstrations.
-
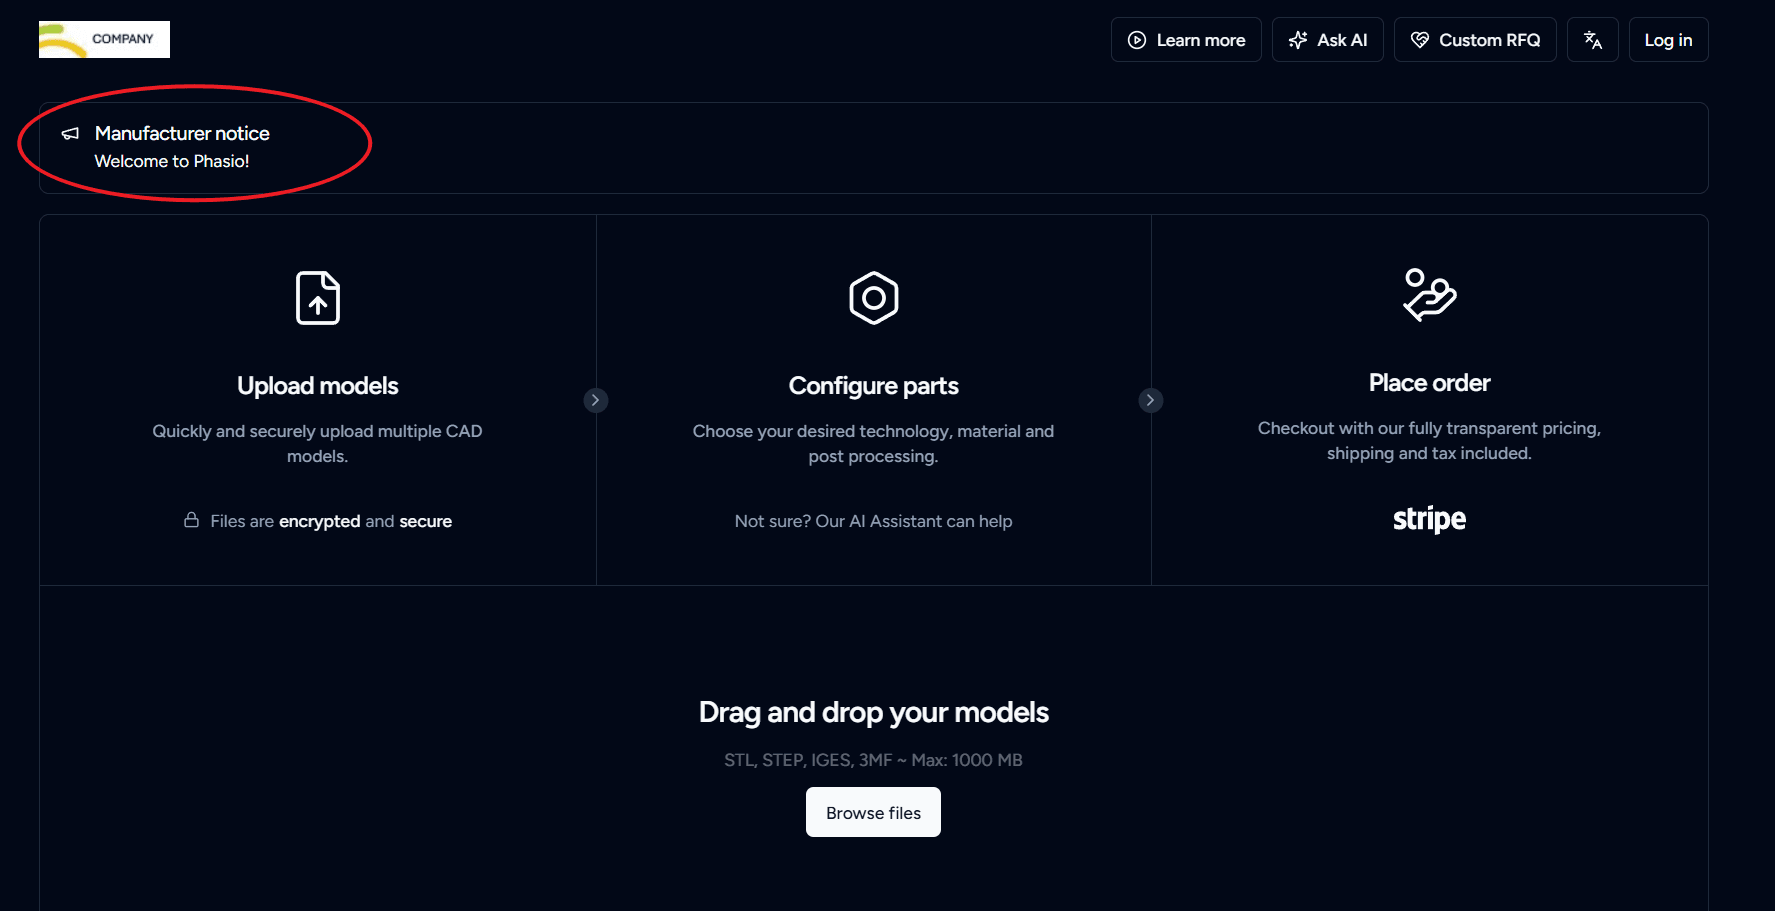
Landing Page Message: Enter a message to display on the checkout. The limit is 500 characters.
-
Terms of Service: Include a direct link to your Terms of Service to ensure proper legal disclosure. This allows customers to review and agree to your business terms before placing an order.
-
Storefront Appearance: Set the default theme for your storefront. Customers can still switch themes using the theme picker. The available options are:
- Customer preference — Customers see the theme based on their browser settings.
- Light mode — Your storefront defaults to light mode.
- Dark mode — Your storefront defaults to dark mode.
-
Click Save in the page header to apply your changes. Save stays disabled until you change something.
Maximum upload file size
The Upload Settings section has one field, Maximum file size, in MB. It limits the size of files that customers upload.
- Enter a size in MB. Leave the field empty to use the platform limit of 1000 MB.
- Click the Save button next to the field. This button saves only the file size.
Production
Available to manufacturers on the Factory Floor plan
The Production section appears only on this plan. It saves each change as soon as you make it.
- Work order creation status: when the first work order is created for an order, Phasio moves the order into this status. Select No status to leave the order where it is.
- Require approved routing templates for production: when this is on, work orders can only be scheduled with an approved routing template. See Routing templates.
Features
The Features section has these options. Click Save in the page header after you change a switch.
- Embed the storefront: click Embed to get the link and code. See Embed your Storefront.
- AI Assistant: see AI Assistant.
- Line Item Removal: lets customers remove line items from an open quote.
- Mesh Repair: repairs uploaded meshes automatically during analysis. When you turn it off, a warning says that mesh manifoldness cannot be guaranteed, and geometric properties of poor quality meshes may be unpredictable.
- Wall Thickness Check: needs the Pro plan. See Parts.
- Fixed Orientation Constraint: needs the Pro plan. See Processes.
Customer access
Video tutorial
Configure Customer Login Settings
Watch on YouTube
You control how customers authenticate on your Storefront and when during checkout they must sign in. These settings let you balance security, data collection and user experience for your business.
- Navigate to Settings > Workspace > General.
- Scroll down to the Customer Access section.
- Available methods: Choose the authentication method customers will use to access their account:
- Only with Phone Number – SMS-based verification.
- Only with Email – Email-based authentication.
- With Phone number or Email – Allows customers to authenticate using either method.
- Sign-in location: Select when account creation or authentication is required during the checkout flow:
- Before price: Require customers to log in and authenticate before viewing pricing information.
- After price: Allow customers to view pricing first, then prompt customers to authenticate or log in.
- Require approval for new customers? Choose whether new customer registrations require administrative approval before activation. This provides an additional layer of control over who can access your manufacturing services.
- Click Save in the page header to apply your organisation settings. Save stays disabled until you change something.
Remember me on the storefront
The storefront sign-in has a Remember me box, off by default. When a customer ticks it, they stay signed in on that browser for 30 days. Without it, they sign in again when their session ends. There is no setting for this.
Last updated on
Reports
Export your orders, customers and invoices to Excel, and pull the same data into your own tools through the API.
AI Assistant
Turn on the AI Assistant on your Storefront so customers can get material and technology advice and send you qualified requests, built from your own processes, materials and pricing.